Monday, September 3, 2012

September

September is here! Make sure you check out the brand new issue of Scrap n' Art, because it has some amazing projects and tutorials in it.
Just check out the rotating pics on the homepage to see a FEW of the awesome things in the September issue!

I also have something of my own to share - a little bit of French country.
The paper was stamped with TPC Studios stamps (Roosters set) and an old Stampendous! French text background stamp that I picked up at Goodwill several years ago. The "Merci" and text strip at the top are clear stickers. The doily was cut with a PTI Parisian Doily die and I accented it and the top with Liquid Pearls. The ribbon is from May Arts and the lace is vintage. I used Beacon Adhesives Fabri-Tac to adhere the fabric elements and GlueArts Extreme-Tac for the rest of the card.

Merci!

Saturday, August 25, 2012

Simplicity

I'm not a very simple papercrafter; I tend towards the more elaborate and fussy. Sometimes though, I think enough is enough and I end up with a super simple card like this one. That funky bow just didn't need any other help!

Maybe this is a sign of the semester to come. I'm back in college for my last semester of classes. Yea! It's definitely a process as I attempt to adjust from summer's carefree ways into the schedule of school (for the kids and for me). I might find simplicity has a bigger place in my life.

Tuesday, August 21, 2012

Break over


Well, that was a long enough break, don't you think? ;) Back to the wedding cards! I just got two fresh invites in the mail this past week, so the push is far from over. This is a pretty simple card that mimics a design I did earlier in the summer. I just like how the doily looks with this theme. On this card I used two of the rings (I ran to HL with a 40% off coupon in my sweaty little hand and purchased a package of them!) and went with a bolder color scheme.The background was embossed with a 5x7 Cuttlebug folder and both of the trims are from the HL wedding department.

Thanks for taking a peek!

Thursday, August 16, 2012

Break

OK, even I'm getting fed up with all the baby and wedding cards - sheesh, already!

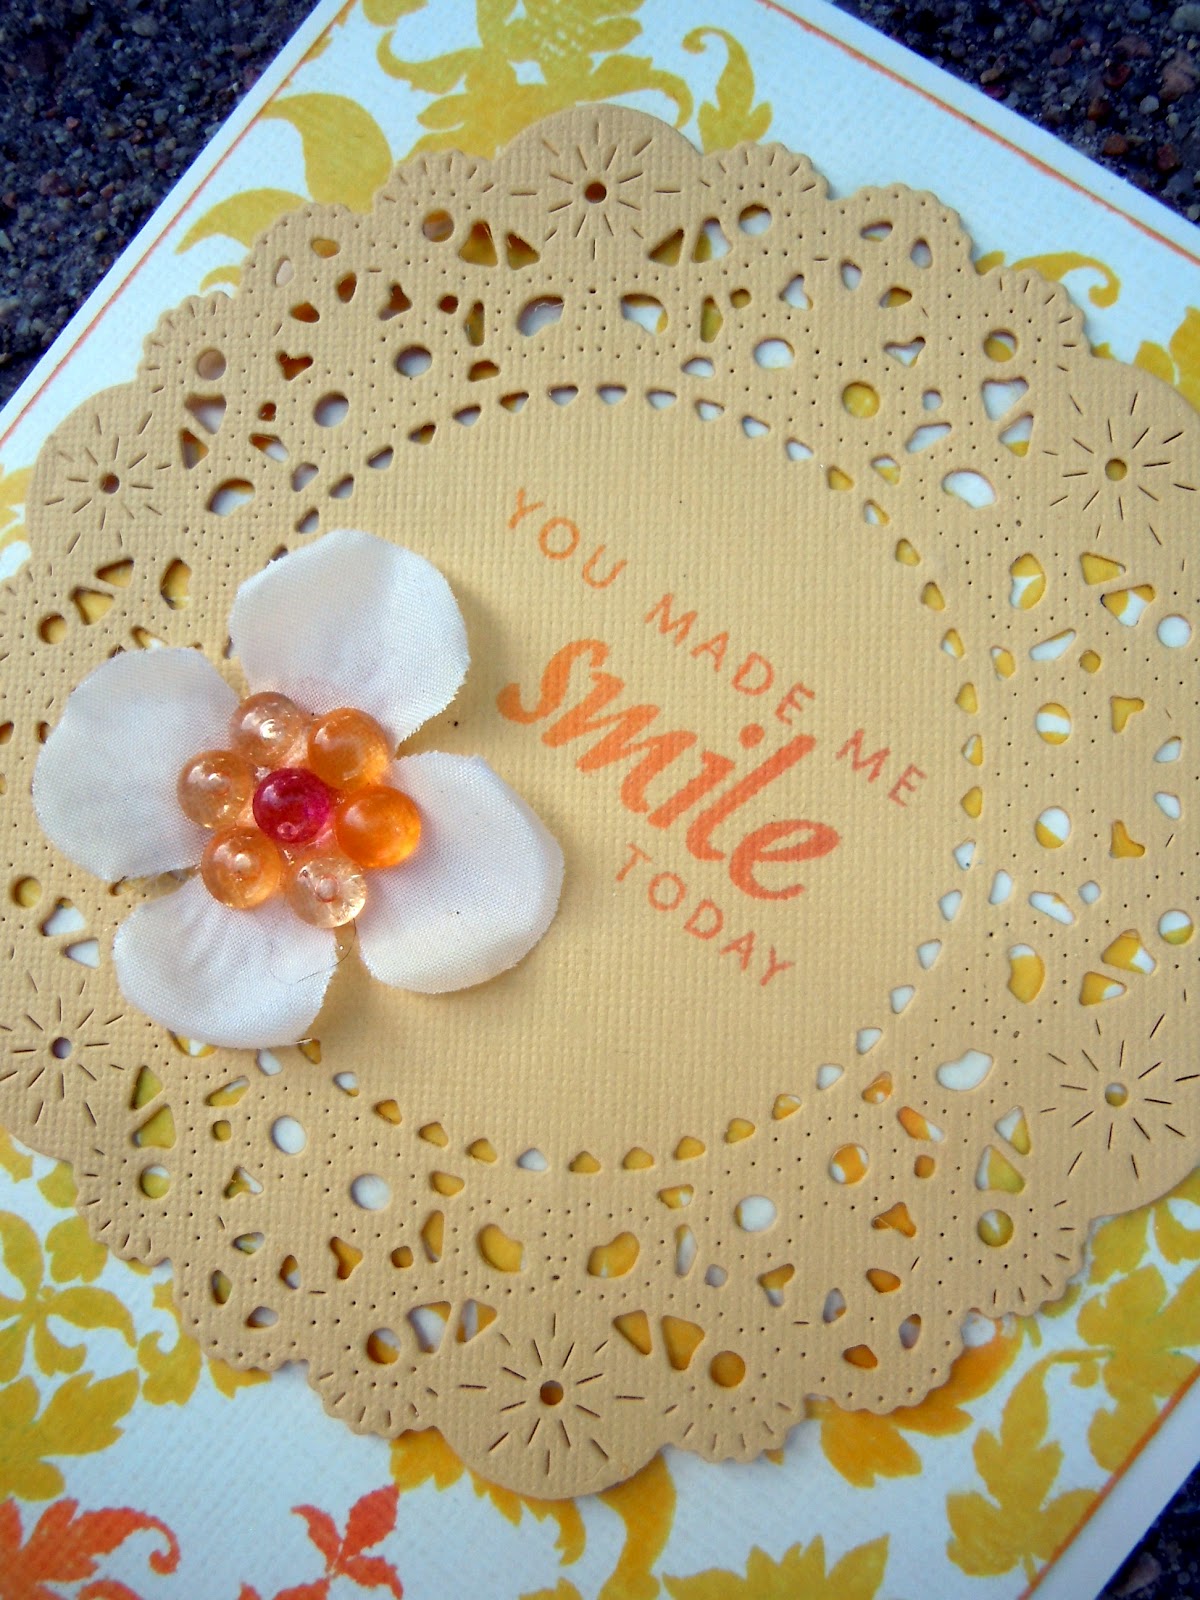
So here's a sunny card that is neither. I made it with the left-over stamped paper I had from my stamping challenge. That's still open, by the way if you want to join in! I inked around the panel and adhered it to a white card base. The doily is from Papertrey Ink and the sentiment is from Verve Stamps. The flower is a silk flower with a Glue Arts Raisen's flower center that I made for a tutorial a while back. Glue Arts Raisen's are SO cool :)

Thanks for taking a peek!

Want to be published?

If you are gearing up for fall, make sure you check out the Fall Scrap n' Art publication calls!

Scrap n’ Art is currently looking for submissions for our October 2012 issue. We are looking for your layouts, cards, altered art and out of the box creations that follow the theme ”Fall Traditions.” Are there certain traditions that you look forward to every fall? Maybe it’s the yearly state fair or the start of football season. Or are you a baseball fan and October is all about the World Series. Perhaps October signifies the start of the holiday season for you, beginning with Halloween. Whatever your fall traditions may be, we want you to share them with us! Digital, traditional or hybrid, anything goes! You can also submit as many projects as your heart desires. To submit, please follow the guidelines below. Deadline for all submissions is September 1, 2012.
To submit, please send the following information to submissions@scrapnart.com:
  • Your name and email
  • A photo of your project (Please include additional photos of details. Limit photo size to less than 1 MB each.)
  • Title of your project
  • A supply list of all items used. (Please include manufacturer and item. If in doubt, please include the information.)
  • In the subject line, please put “October 2012
  • If you would like for us to include a link to your blog, please share your blog address.

Monday, August 13, 2012

Dresses and digital stamps

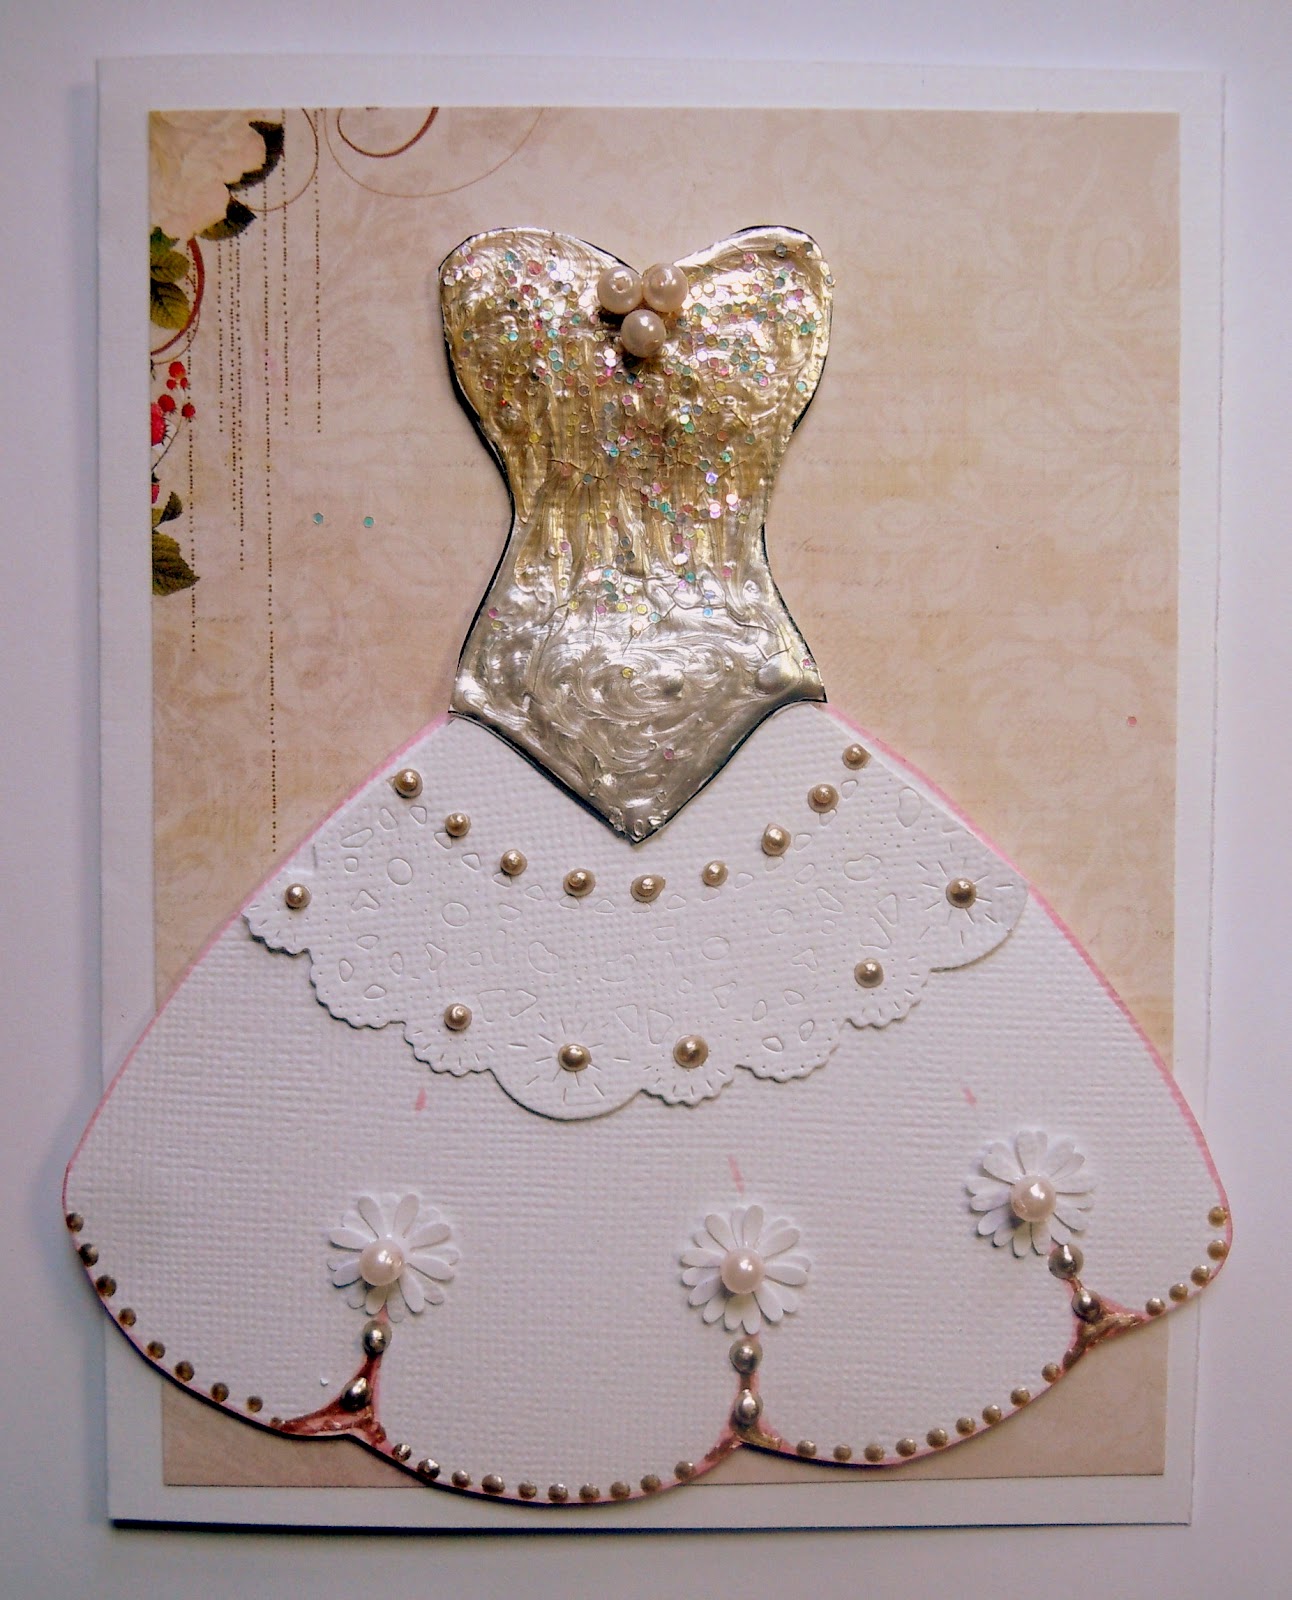
I'm mostly a traditional stamper, but every once in a while, I break out some digital stamps. If you want to dabble with some super cute and FREE digital stamps, be sure to check out Birds Cards! That's where I got the bodice part of the dresses I'm sharing today. There are a ton of really nice digi stamps on her site - and did you notice I said they were free? ;)

Here are two bodices I printed off on plain white cardstock. Before cutting them out, I decorated them - if you cut them out and THEN add wet substances (paint, glue, etc) they tend to warp pretty badly. If you do that while they're uncut, then the surrounding paper cuts down on the warping.  I wanted a dual color bodice for each, and here's how I achieved them:

1. On the first bodice, I used Liquid Pearls. Instead of making little pearls, I spread it all out. The top part of the bodice is Platinum and the bottom is Silver. I used a straight pin to blend them together so there wasn't a harsh line. Afterwards, I put some chunky glitter on the top.
2. On the second bodice, I covered it with Diamond Glaze and put Diamond Dust on the top of the bodice and silver hologram glitter on the bottom.

3. As you can see below, I added 3 loose pearls to the top bodice as an afterthought :) After they dried, I cut them out and fashioned dresses for them. I just marked on white cardstock where the bodice would be and then free-handed some simple dresses.

4. To embellish the dresses, I used paper punches (a daisy and a sakura blossom) and some Liquid Pearls.


 5. Then I assembled the dresses.
6. I wanted to keep the card bases pretty simple, so I just chose silver glitter cardstock and white cardstock (both from American Crafts)for the one bodice and some Webster's Pages paper for the other.

 7. After I put this bodice on, I added a doily portion to it - I'm always adding something!
Thanks for taking a peek!

Saturday, August 11, 2012

Baby boy


This baby card is so sparkly!I used American Crafts Glitter Cardstock in blue and silver - I adhered them with Beacon Adhesives Zip Dry. Zip Dry is a MIRACLE liquid glue because it doesn't warp or wrinkle your photos or papers. Not only is it good for lightweight paper, it's also very handy for this heavy glittered cardstock.  Zip Dry works because it dries VERY quickly - I'm serious, it dries almost instantly. Because of that, the applicator tip tends to get gunky and clogged; however, I've figured out something that is an easy fix. If you stick a straight pin (the sewing pins that have a little pearl at the top work the best) into your tip, you can actually store it like that. The pin keeps the tip clear and the pearl at the top fits into the cap and keeps the air out! Here's a photo of what it looks like when you take the cap off.


When you want to put the cap back on, just stick the pin into the applicator tip and it's ready until next time. Pretty simple, huh?

Anyway, back to the card! I used American Crafts Thickers to spell "Baby" on the top and I used a bit of Zip Dry on the back of them as well. Even though Thickers are adhesive backed, it doesn't stick very well to rough surfaces like glitter.

The decorative edge was punched with a Martha Stewart Crafts Deco Shell edge punch and adhered with Zip Dry. The stars were heat embossed with glittery silver powder - the stamps are by Unity Stamp Co.


On the inside, I stamped in light blue ink with some more of the Unity Stamp Co set and used a sticker sentiment from SRM Stickers.  


That's all for today - thanks for taking a peek!